Section 2: Installing the 1Password app for Mac & Windows
1Password Installation Guide
Mac and Windows
Step 1: Get your 1Password Account DetailsInfo
You will need four things in order to sign into 1Password:
- Sign-in Address
- Email Address (a.k.a. username)
- Secret Key (a.k.a. Access Key)
- Password (a.k.a. your master password)
If this is the first device you're setting up with 1Password, these Account Details can be found in your 1Password vault, the one that you first gained access to via an email sent to your inbox. (See the Retrieving Your 1Password Account Info section for more info.
If you're already set up with 1Password on another device, such as an iPhone, open 1Password and search for your 1Password Login credentials. If you haven't been given these ahead of time, contact IT for assistance. You won't be able to complete the sign in process without them. You should have them open in a browser window if you've already completed Section 1. See Section 1: Retrieving Your 1Password Account Info if you haven't.
If this isn't the first computer you're setting up with the 1Password app, these Account Details can be found in your Vault. If you're unable to retrieve your account info, contact IT for assistance.
Once you have access to your Account Details,Info, continue with Step 2.
Step 2: Install
There are two methods you can use to install 1Password:
-
🪄Mosyle: Self-Service app (recommended) -
🖐️Manual Download and Installation
We will cover both here, but for convenience we recommend using the Self Service app.
🪄
- Method 1 -Mosyle: Self-Service appMosyle is a mobile device management system that allows us to deploy apps to managed devices without using Apple's Mac App Store. It's like a smaller "app store" that we curate to make installation easier. This curated "app store" can be found in the Self-Service app.
i. Open the Self-Service app
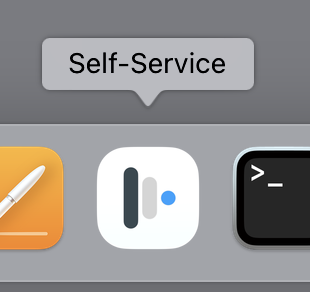
Find the Self-Service app on your Dock and click to run the app. If the app is not located on your Dock, you can find it in the Applications folder using Finder. You can also quickly launch the app from Spotlight by using Command + Spacebar (
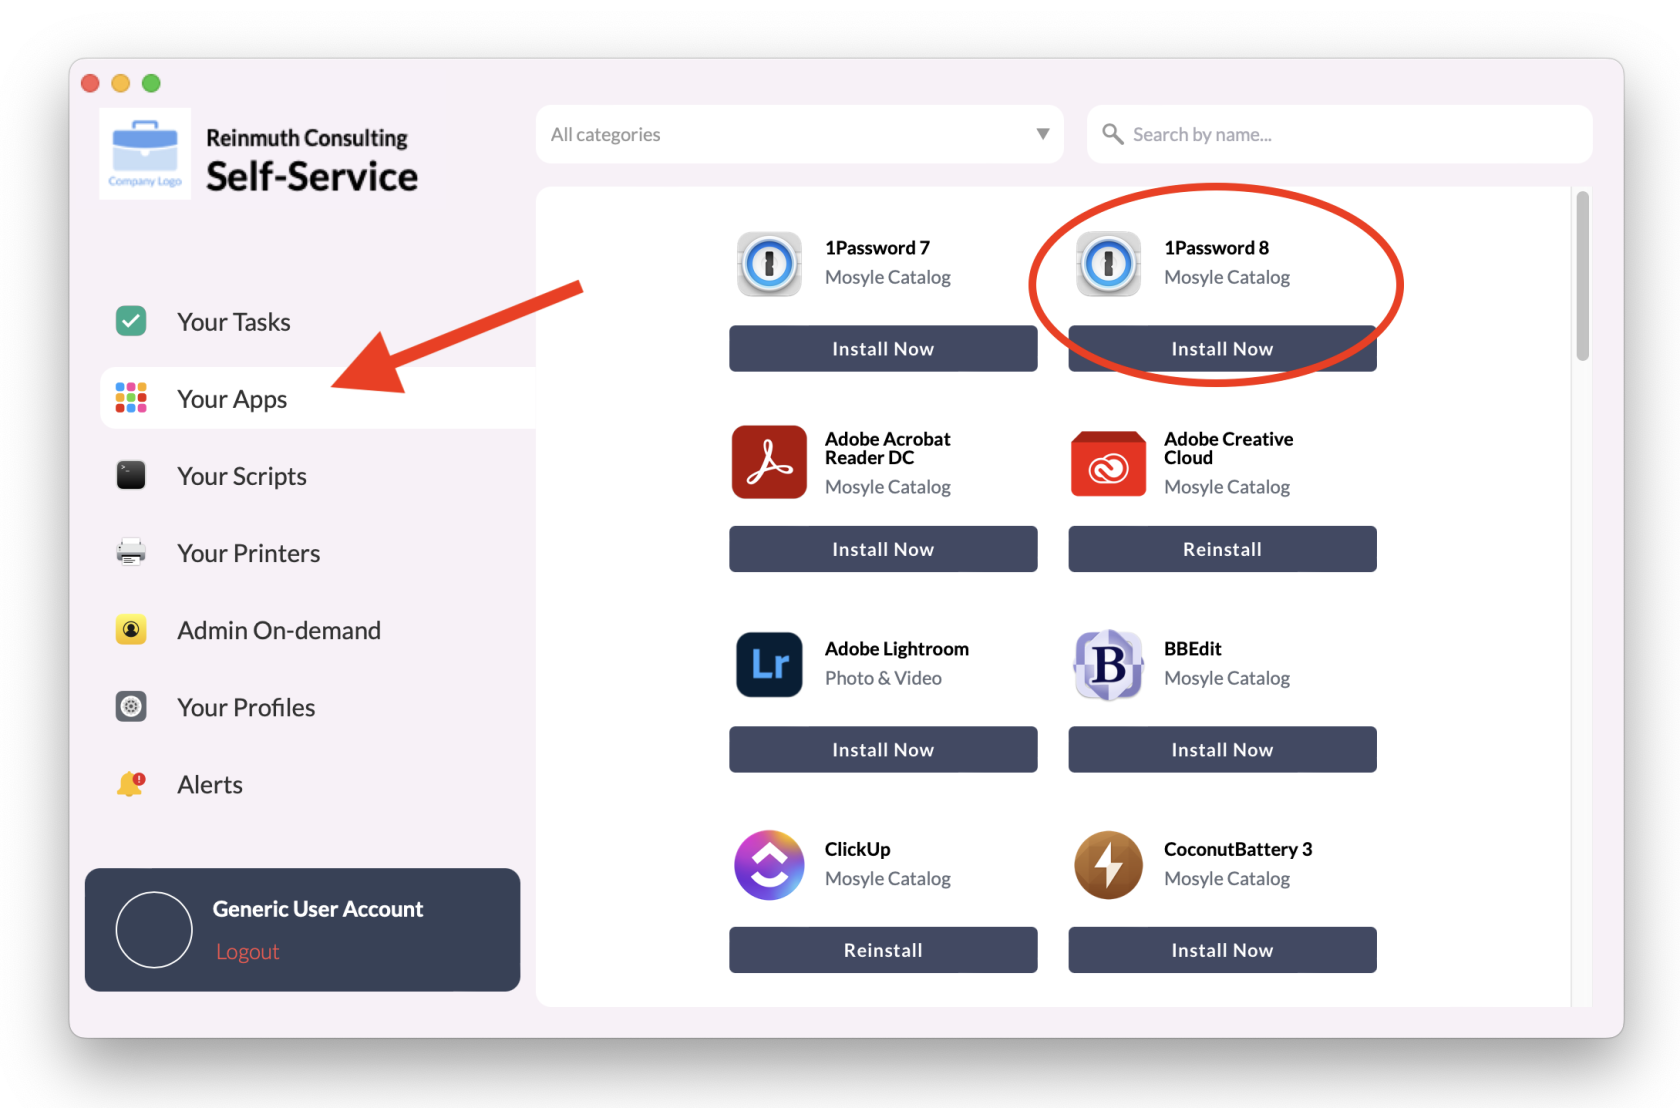
⌘+).Once the Self-Service app is running, click the Your Apps tab. 1Password 8 should appear at the top. If it's not there, scroll until you find it or search by name.
Note: Please make sure you are installing 8 and not 7.
ii. Install Now
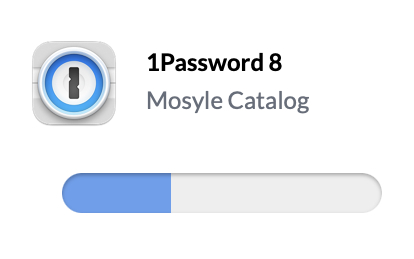
Click the Install Now button and wait for the process to complete.
iii. Open 1Password
Once the installation has finished, run the 1Password app. You can find the 1Password app in one of two ways:
- Open Finder, click on the Applications heading, and 1Password should be in your installed applications folder.
- Search for 1Password using Spotlight Search. (Note: Default keyboard shortcut is
command+spacebarto bring up Spotlight, then type "1pass" and pressreturn.)iv. Place 1Password on the Dock (optional)
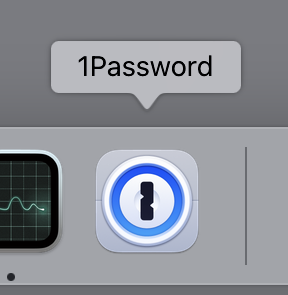
For convenience, you may wish to place the 1Password app icon somewhere else on your Dock. This step is optional but recommended.
🖐️
- Method 2 -Manual InstallationNote: We do not recommend the full manual approach, but it is an option. We recommend using the Mosyle Self Service app method. If you have already completed Method 1, skip this method and start at Step 3.
i: Download
Click on the corresponding link, depending on your OS:
Mac: https://downloads.1password.com/mac/1Password.zip
Windows: https://downloads.1password.com/win/1PasswordSetup-latest.exe
ii: Install 😎
Mac
Open the
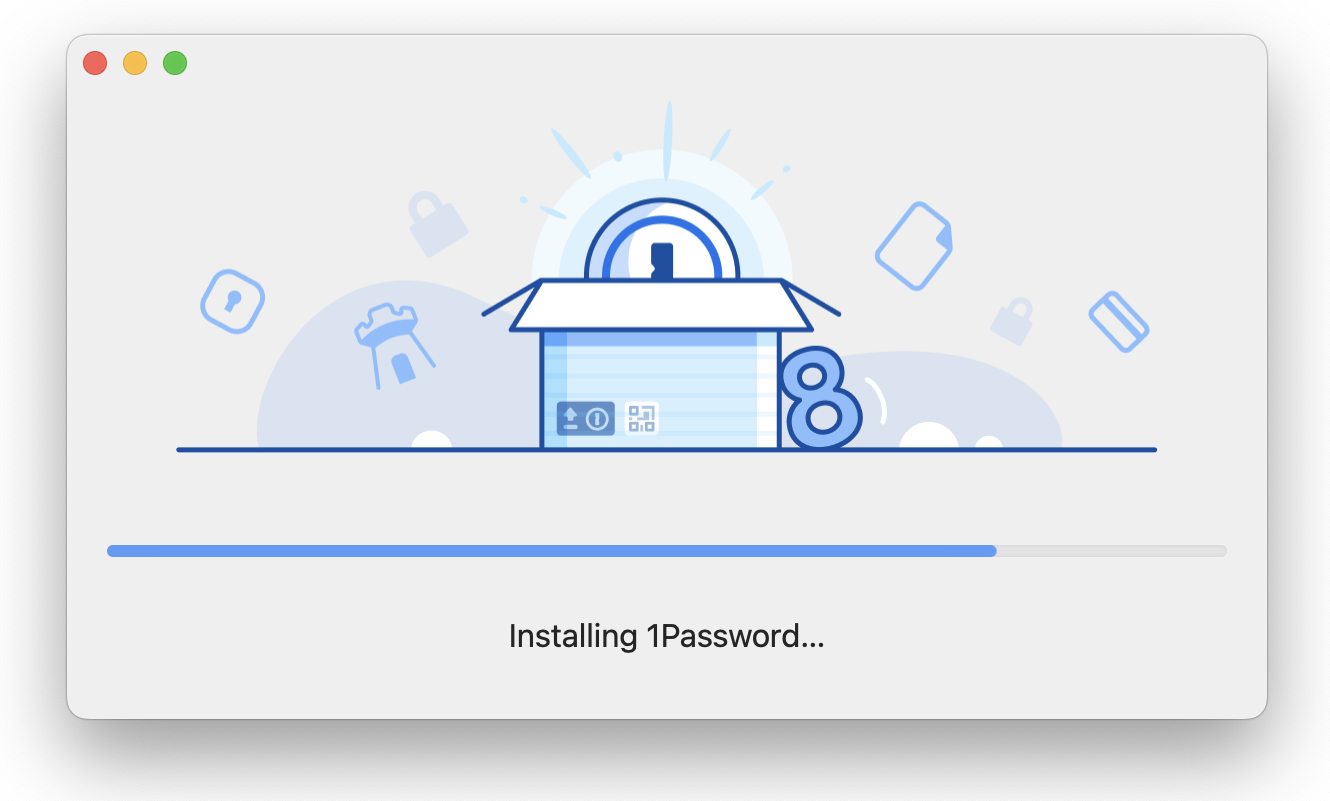
1Password.zipfile, and then run1Password Installerapp.(Note: Depending on your Finder settings, the app name may not include the .app filename extension. It may also be automatically unzipped for you, in which case you will only see the Installer app and not the .ZIP file.)
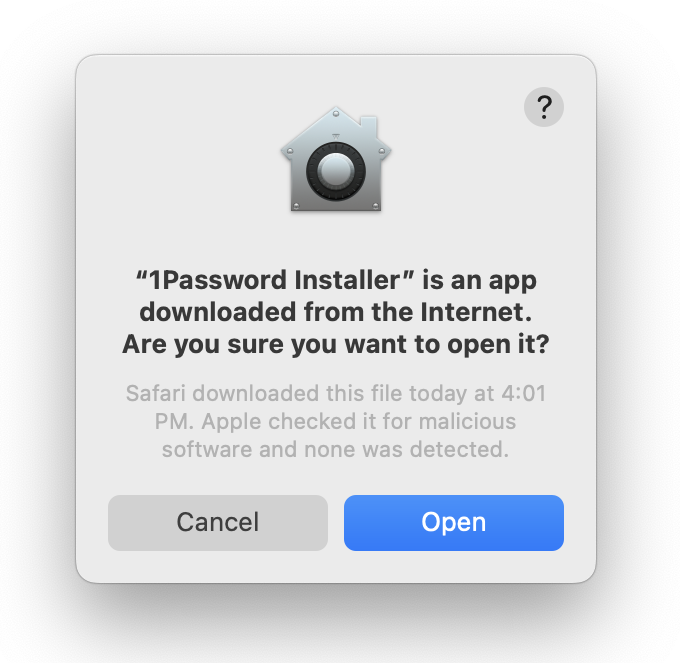
You may encounter a warning that the app is downloaded from the internet. This is normal. Hit Open to continue.
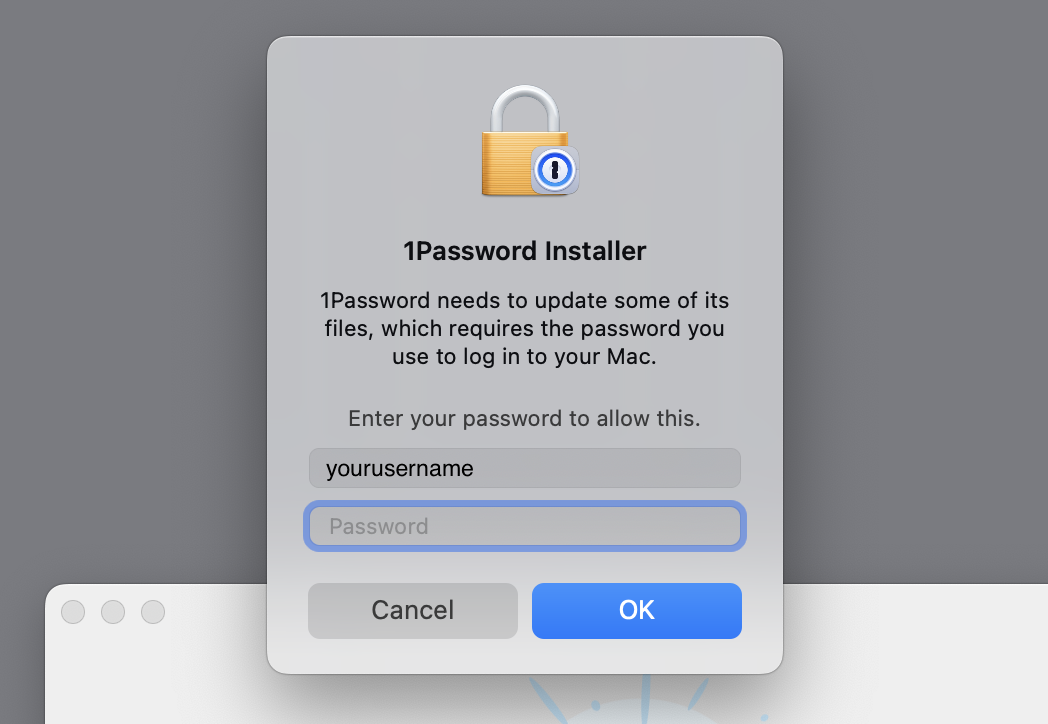
You may also be asked to enter a password to install.
Please use your OS password for this install, the same as the one you use to login to your machine.
Once the installation is finished, 1Password should appear in your Dock. Start it up and continue with Step 3.
⊞ Windows
Run the
1PasswordSetup-latest.exeto begin the installation and follow the onscreen instructions to completion
Step 3: Sign In
For this step you will need your Account Details from Step 1:
- The sign-in address
- The email address for your company account
- Your secret key
- Your master password
If you don't know your secret key or password, contact IT and they can help.
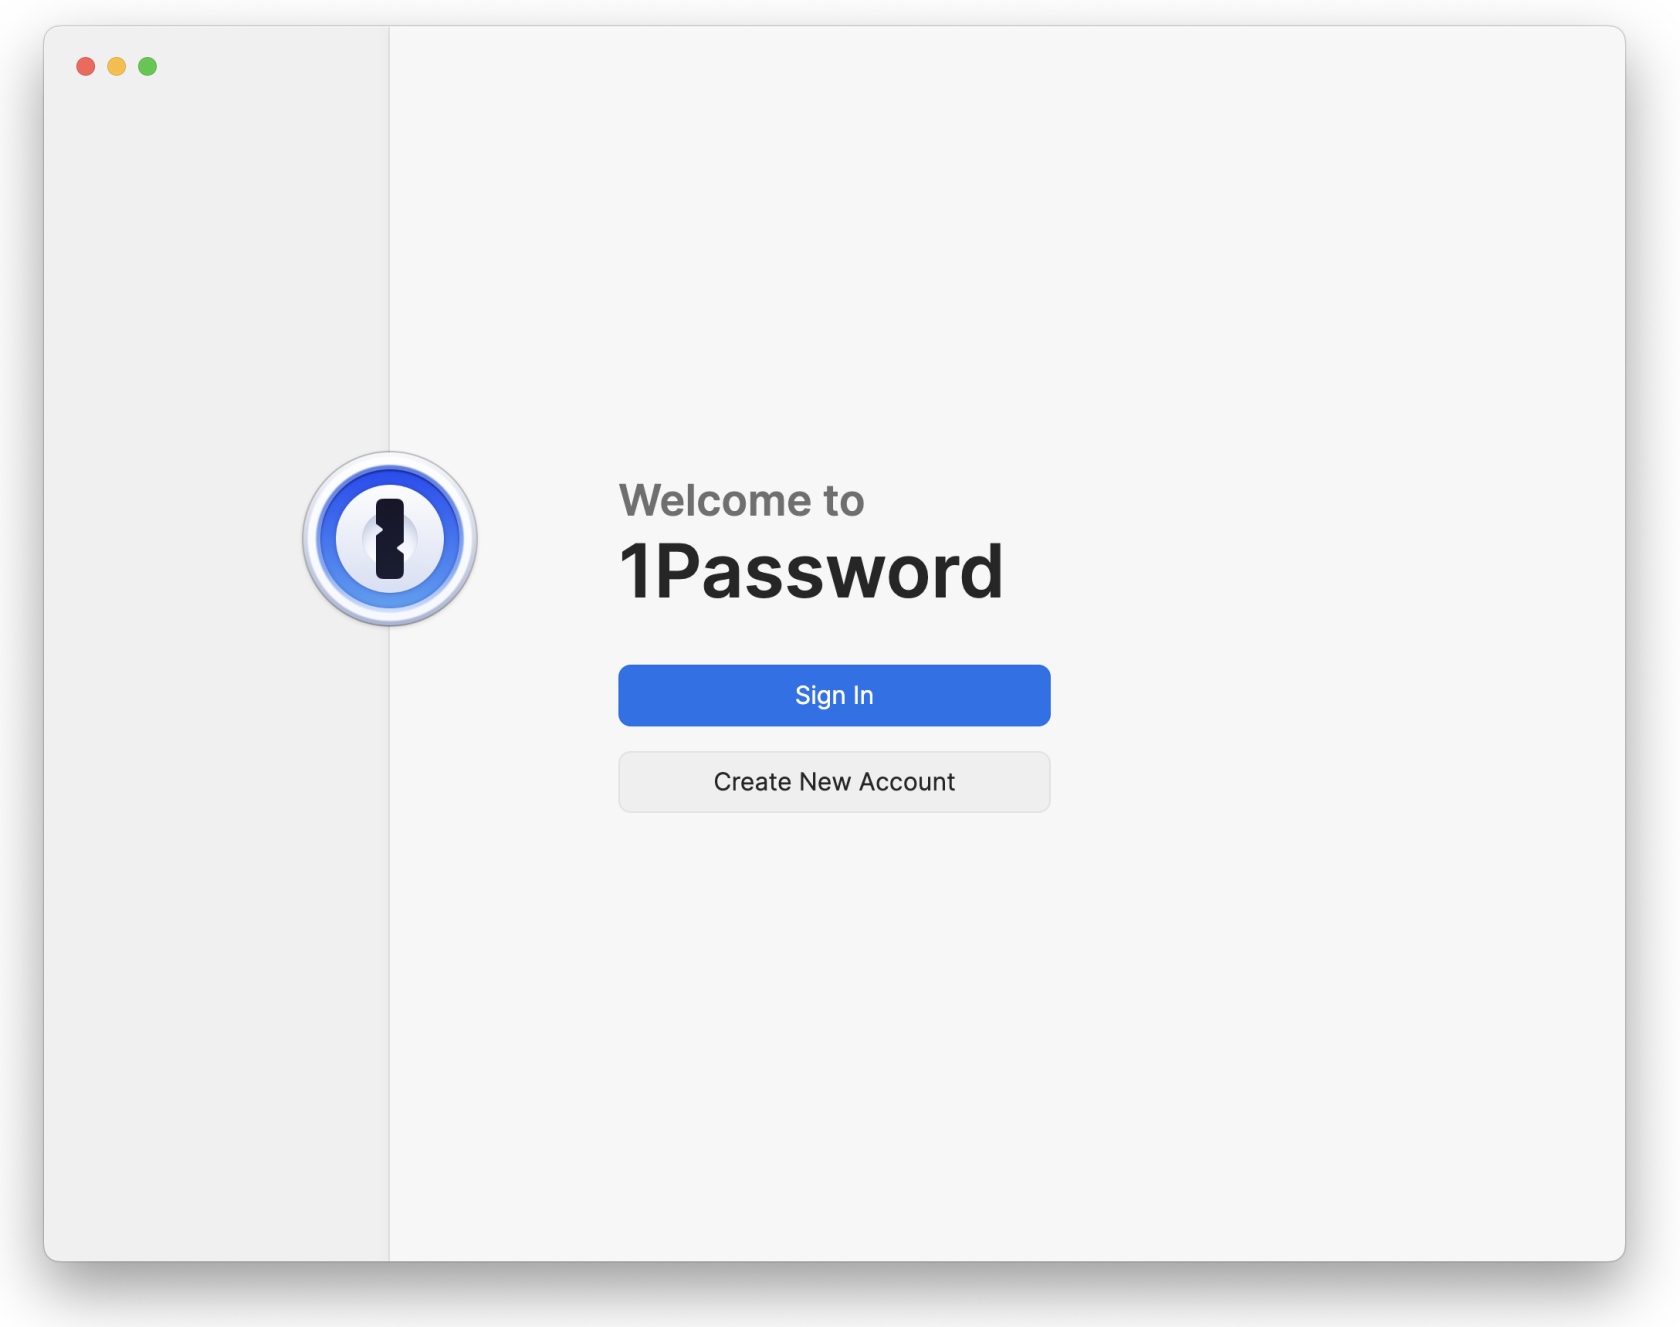
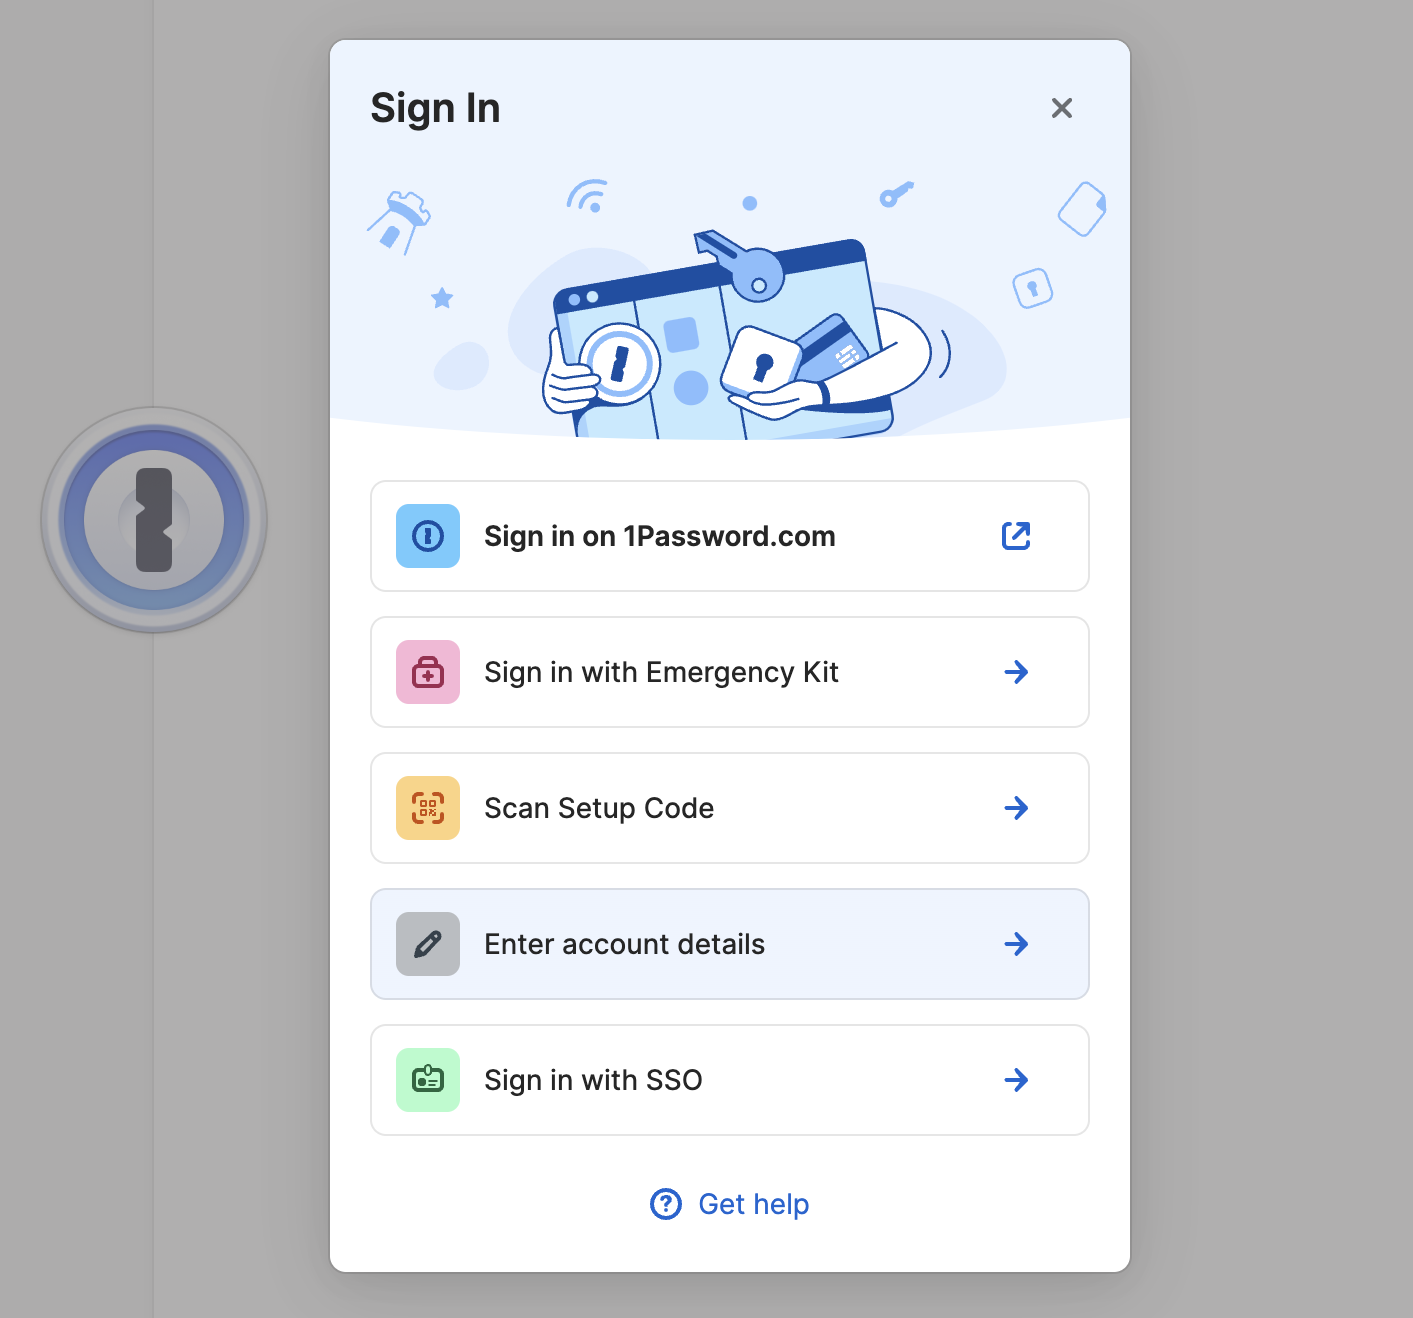
Hit Sign In to begin the process of adding your account to the app.
When prompted with options to sign in, choose Enter account details.
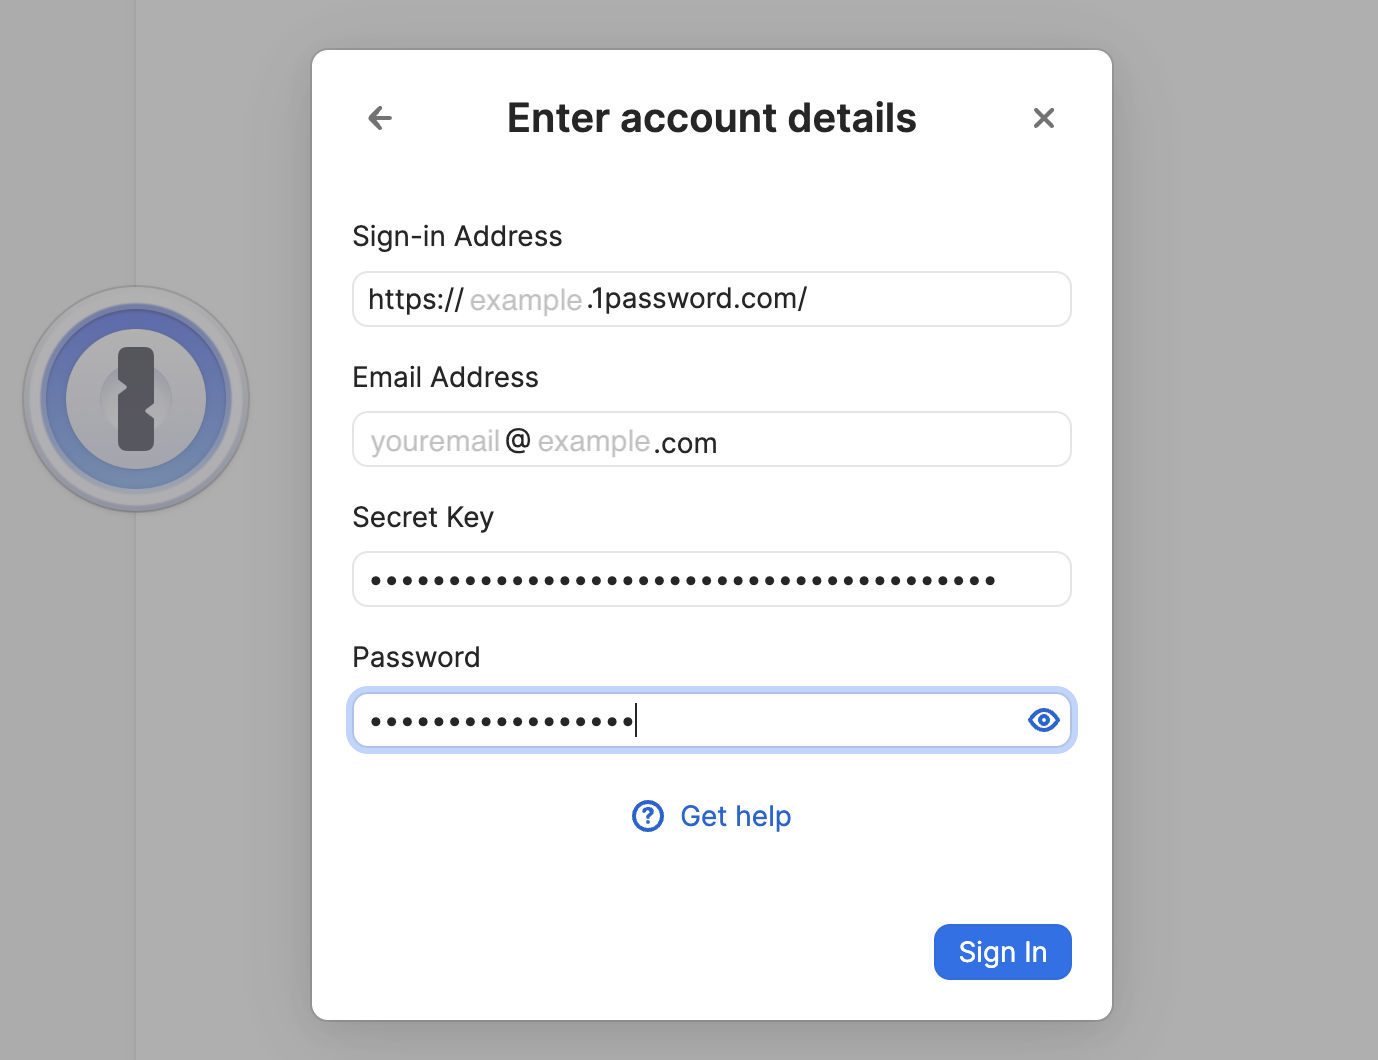
In the next prompt, enter the four Account Details of your 1Password account.
The Sign-In Address is the same for everyone, but your email, Secret Key, and Password are unique to your account.
Remember: Please do not write down (or print) either the Password or the Secret Key. The password is your "one" password, your master password, and your memorization of it is critical. The Secret Key is kept safe by the IT staff if you need it in the future.
Step 4: Configure
Activate app by clicking on its window or the app icon in the Dock.
Head up to the 1Password menu ➝ Settings.
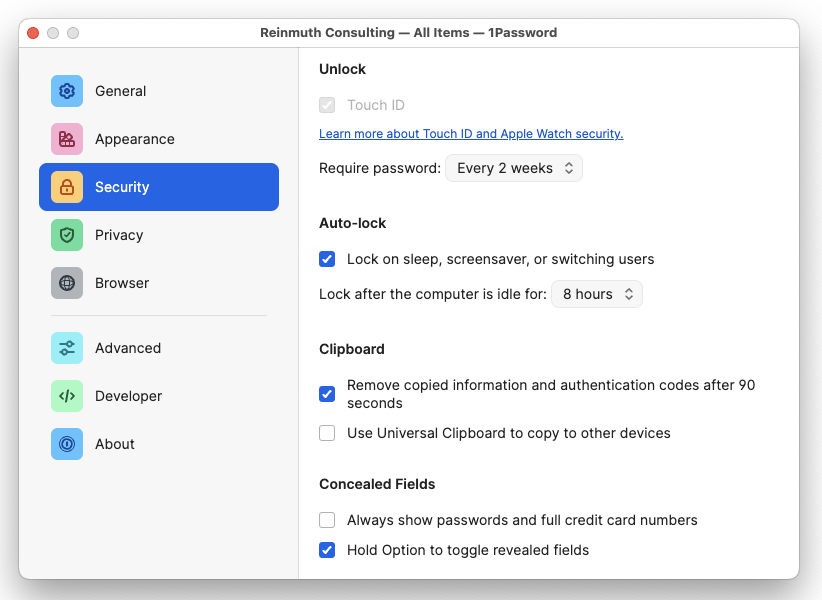
Click on the Security tab, configure as follows:
Feel free to lock this down further, these are the minimums. For Example, setting "Lock after the computer is idle" to 4 hours, rather than just 8 hours.
In the General tab, under the Default Vault heading, change the Save new items in: setting from "Suggest a vault" or "Private" to your named vault e.g. John Doe.
To be clear: Default Vault should be the user, not Private.
To reiterate: These are the standardized settings you should have..
- Security Tab
- Touch ID should be enabled for Mac ✅
- Auto-Lock:
- Check ✅
Lock on sleep...- Set
Lock after the computer is idle...to 8 hours. You may set a more strict time such as 4 hours.- Clipboard:
- Check ✅
Remove copied information...- Uncheck 🔲
Use Universal Clipboard...- Concealed Fields:
- Uncheck 🔲
Always show passwords...- Check ✅
Hold Option to toggle revealed fields- General Tab
- Default Vault
Save new items in:should be set to your named vault e.g.John Doe. It should not be set to "Private" or "Suggest a vault".
Close the Settings window after you have finished with both the General and Security settings.
Step 5: Done!
You're done!... at least with this part. Don't forget to set up 1Password For your browser as well!
If you have any questions, contact IT for help.

