Firefox
Step 1: Visit the webpage
Click here: https://support.1password.com/getting-started-browser/
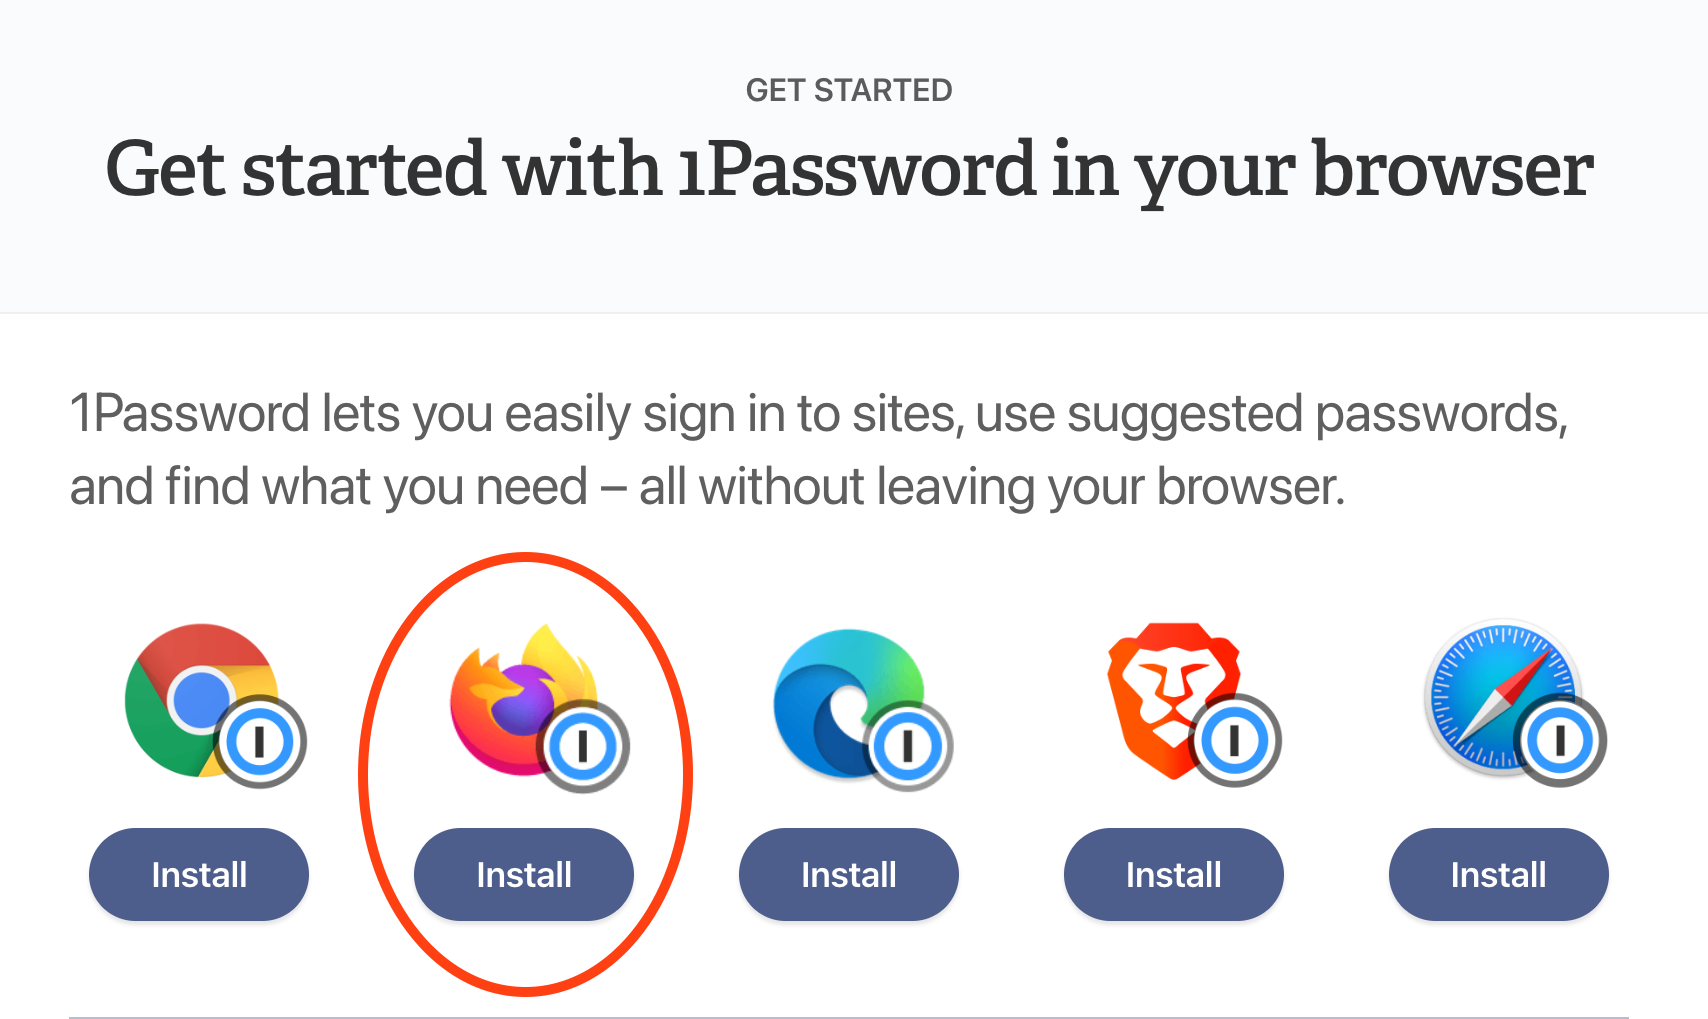
Step 2: Select Firefox
Click on the "Install" button under the icon corresponding to the web browser you are using at the moment. In this instance, Firefox.
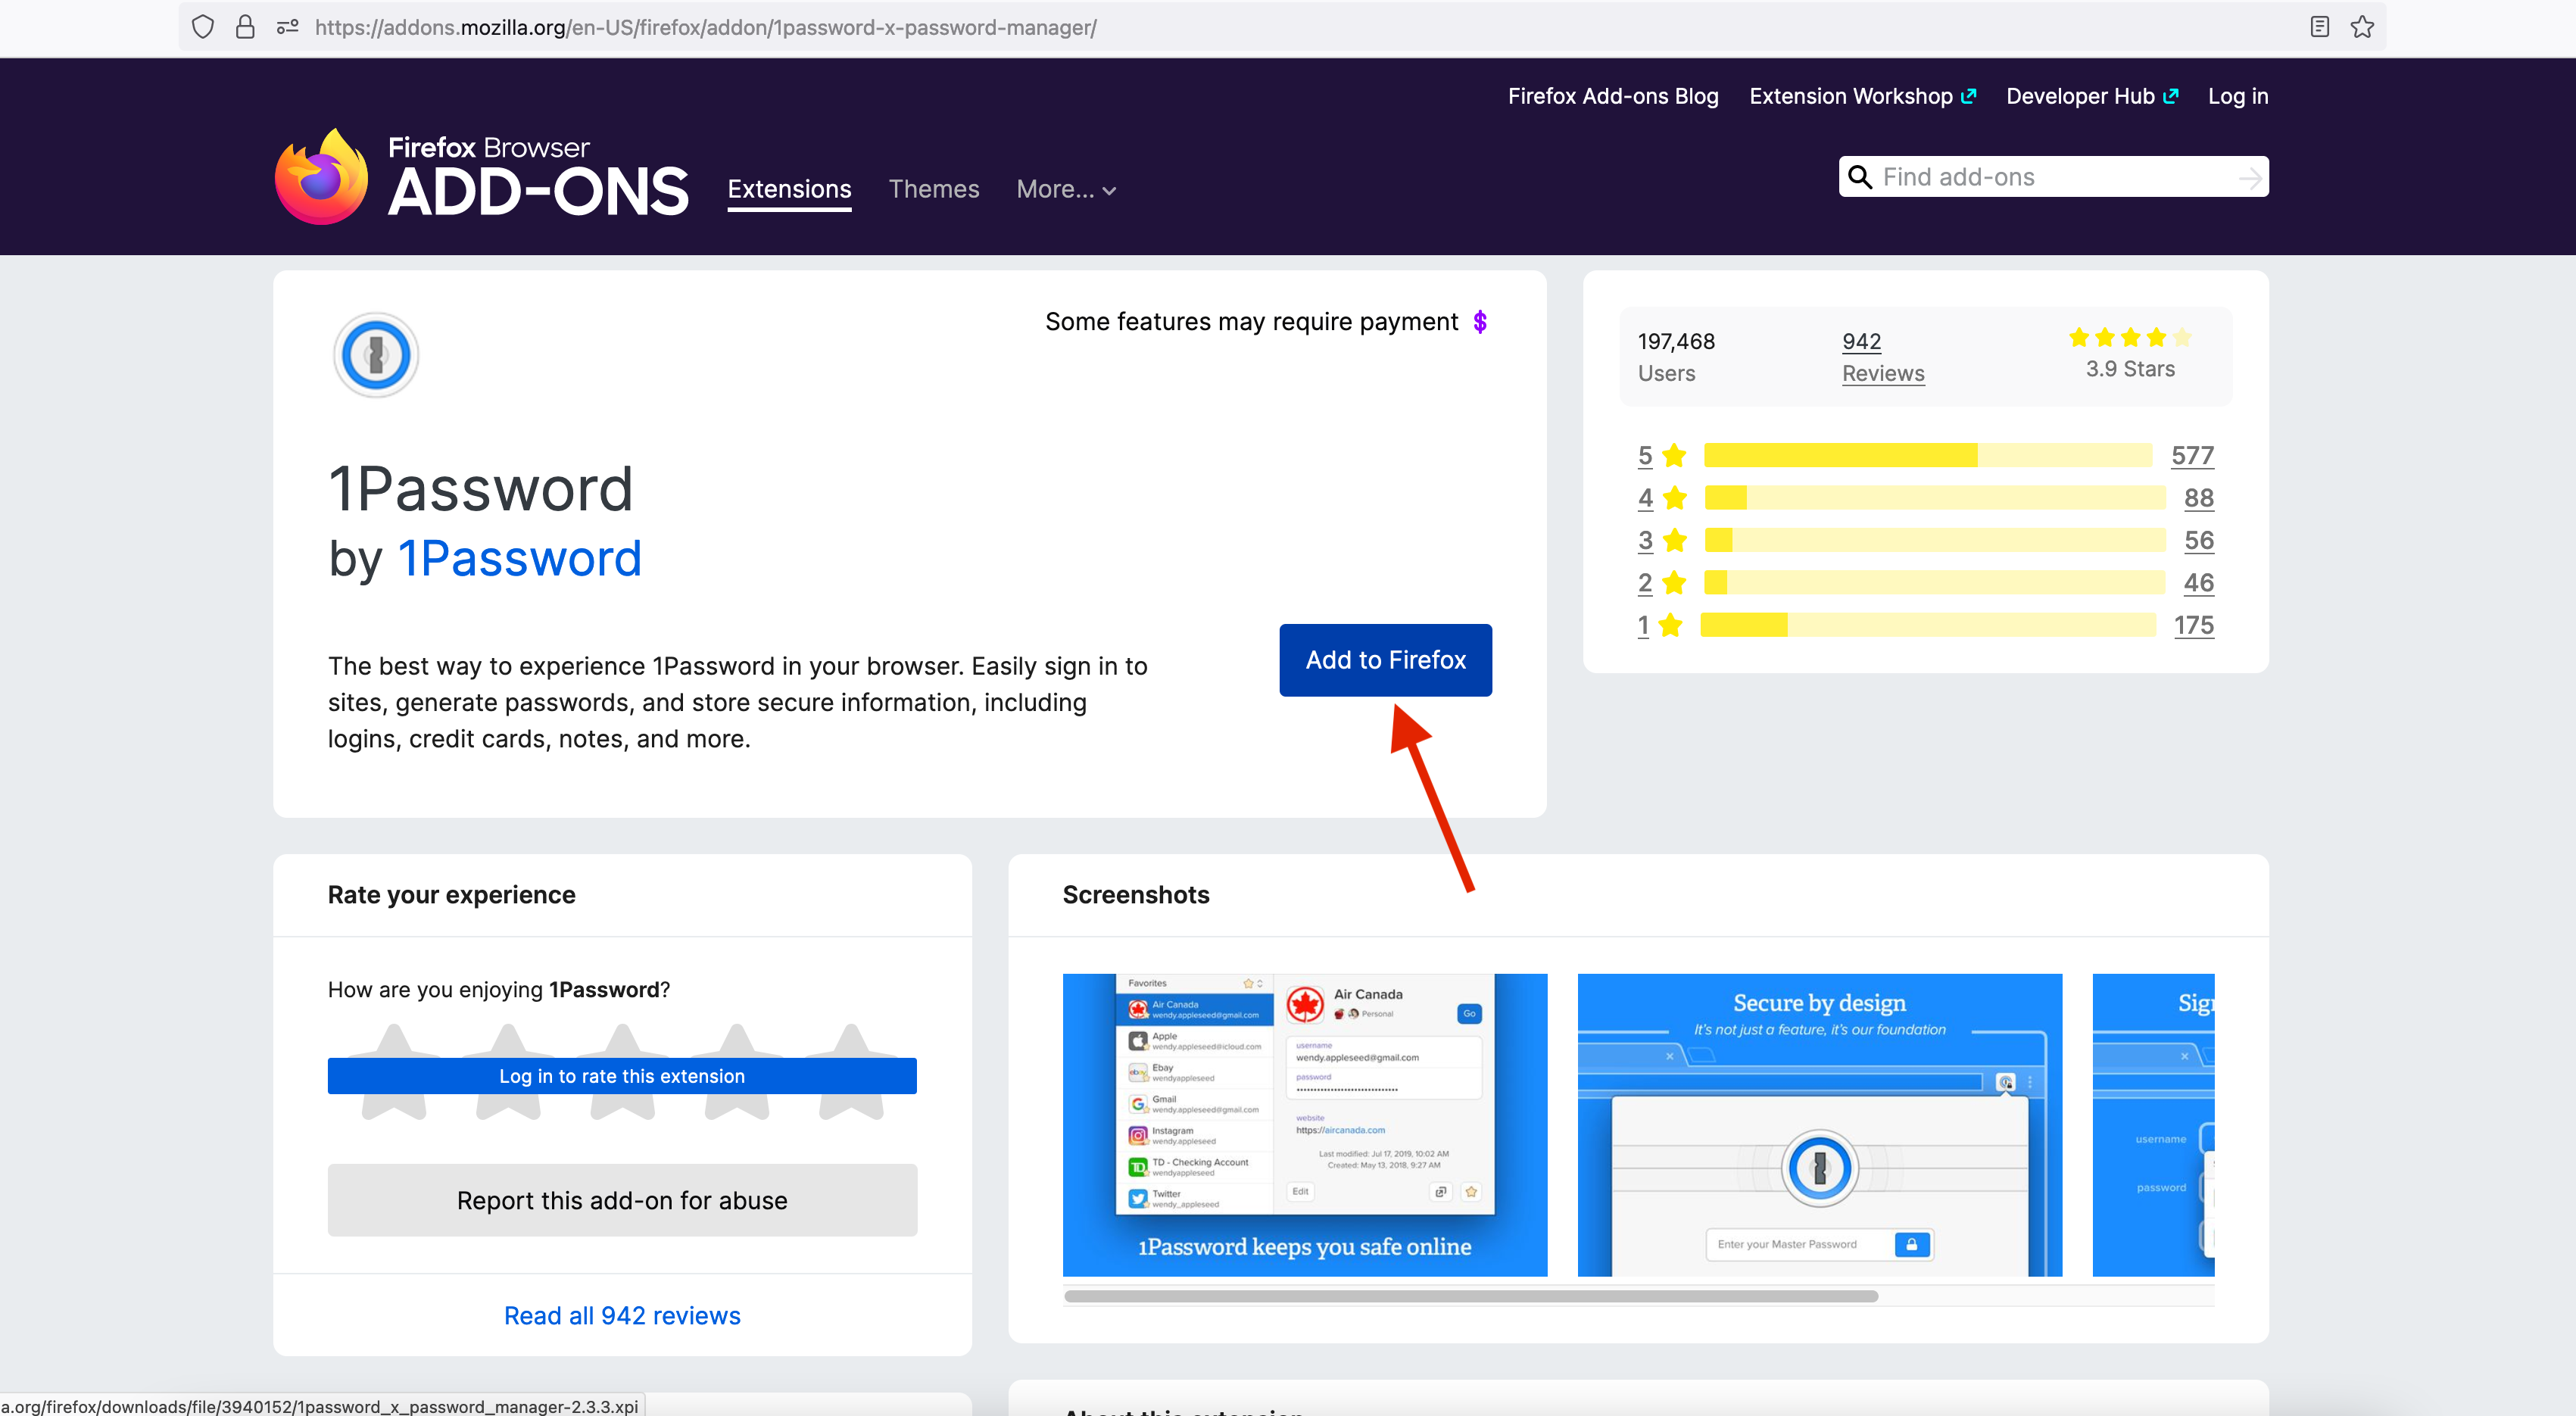
Step 3: Add the 1Password icon to your browser
Click on the "Add to Firefox" button:
Step 4: Permissions
Click on the "Add" button on the pop-up.
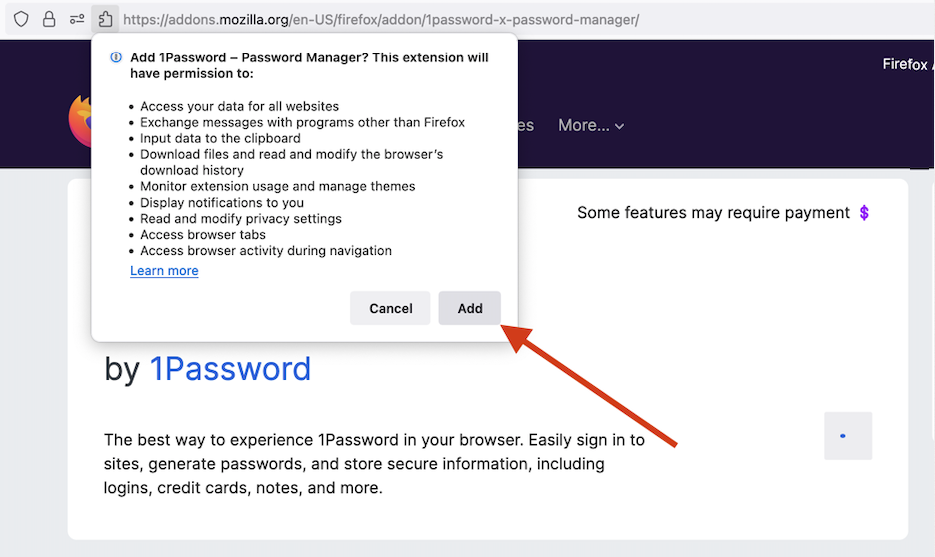
Note: it is both OK and recommended to allow it the same permissions in Private Windows.
Step 5: Log into 1Password
If your toolbar icon looks like this, skip to the next step: ![]()
If your toolbar icon looks like this: ![]() please click it and unlock 1Password with your password or biometric auth.
please click it and unlock 1Password with your password or biometric auth.
Step 6: Install Complete - but we're not done!
You should see the 1Password icon appear in the top right corner, next to your search bar.
Step 7: Configure
- Click the 1Password icon in your browser, then when that menu opens, click the same icon right below it - when you mouseover the second icon says
All Accounts. Click the second icon and select Settings. - Change the
Save new items inpop-up to be your named vault, instead of Private. - It is recommended to enable both
Make 1Password the default password managerandIntegrate with 1Password appoptions. - Under
Accounts & Vaultsuncheck Private.